These tiny cookies, immediately impressed me. They looked so adorable that I had to try some right away. Making these are a total breeze!
These cookies are also called Thumbprint Cookies. And that is because when you place them on a baking tray, you press your thumb in the center to make depressions, which are later filled with jam or jelly. The texture is more like the Indian Nankhatai or Shortbread cookies, but these arn't as sweet. The jam gives it the perfect sweetness.
I made these cookies plump, because they look cuter! But you can make them slightly flat and then make a depression in them. Generally these cookies are baked with the jam IN them. But if you do this, make sure you finish these in a couple of days as the jam will slowly get the cookie soft, if not soggy.
I bake jam drop cookies without any filling. I plop some jam just before serving and that according to me is perfect!
Heres how you make these.
Serves: 16 cookies
Level: Easy
Adapted from: http://www.joyofbaking.com/ThumbprintCookies.html


Ingredients:
1/2 cup unsalted butter, at room temperature
1/4 cup sugar
1 large egg, separated
1/2 tsp vanilla essence
1 cup plain flour
1/8 tsp salt
Jam for filling, any flavor
Crushed nuts to coat, optional
Crushed/Flaky coconut to coat, sweetened or plain, optional
Method:
Step 1 - Preheat oven at 350 Deg. F. Place some parchment paper on your baking sheet. If you don't have any on hand, spray some cooking oil on the tray.
Step 2 - Mix the flour and salt together. Keep aside.
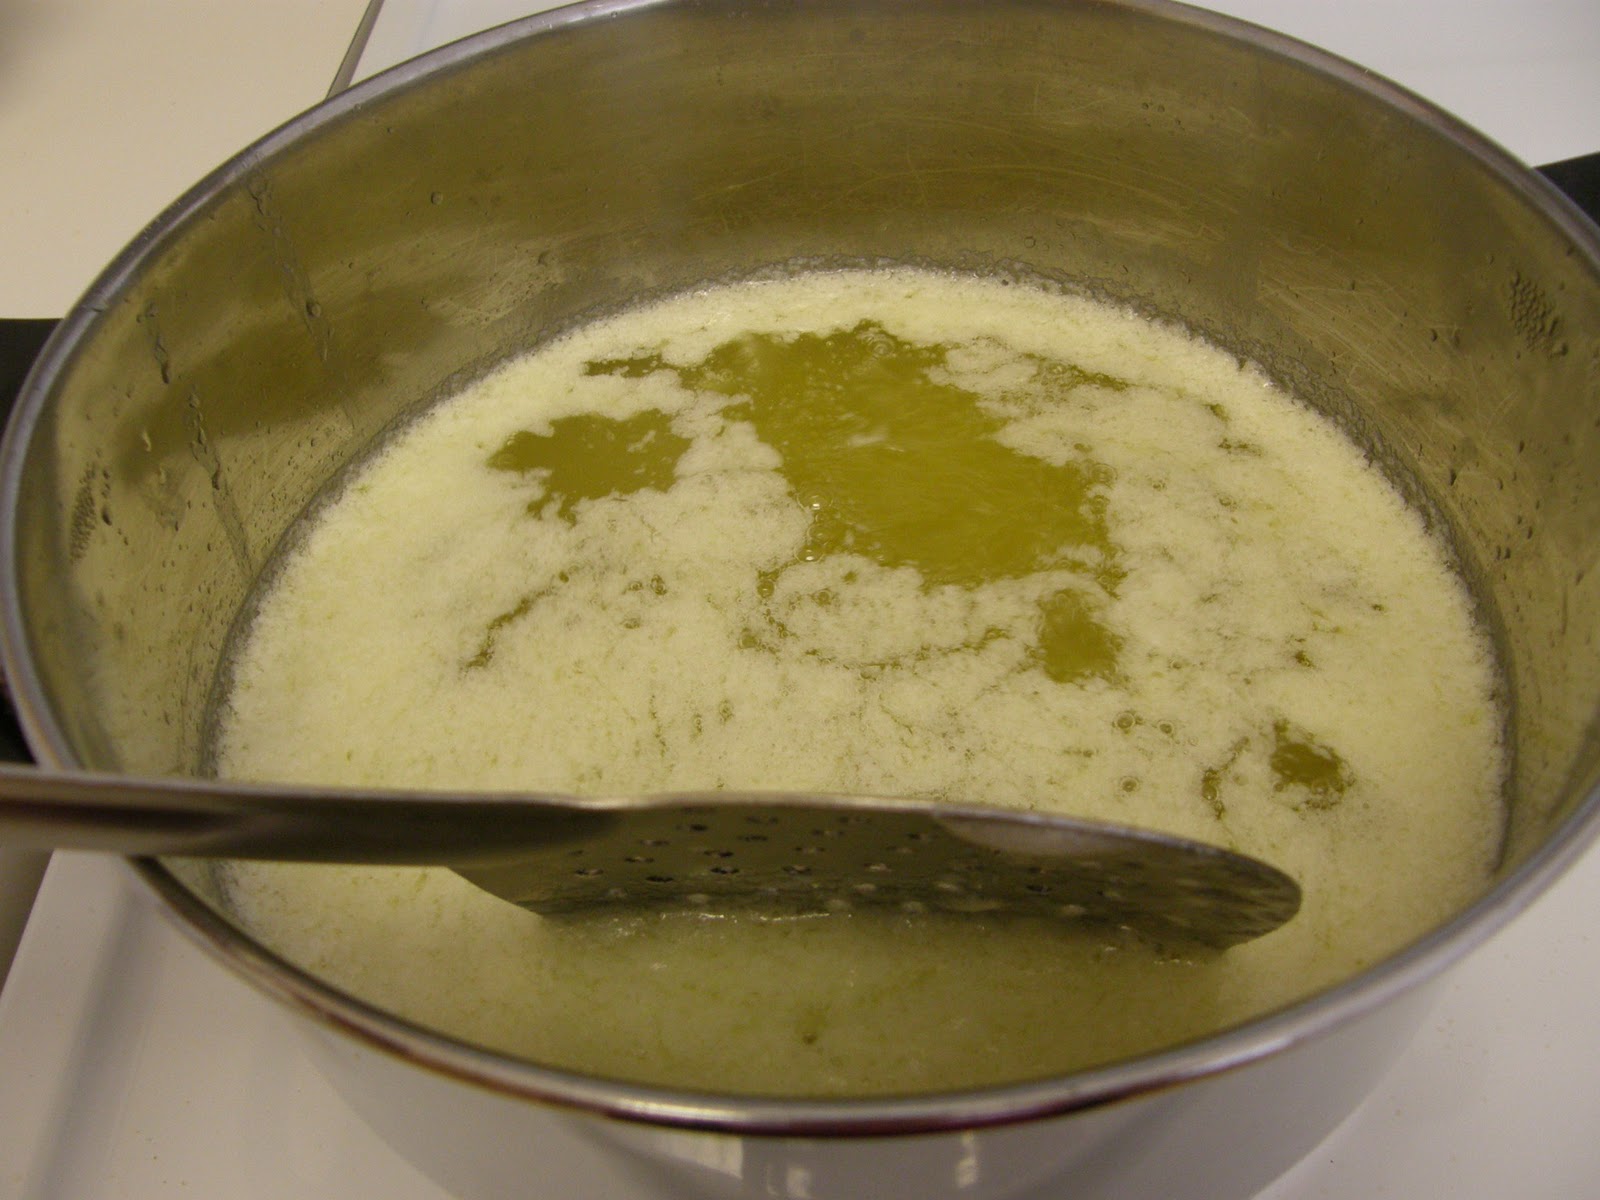
Step 3 - In a large bowl, beat the butter and sugar till it forms a smooth paste. Preferably with an electric whisk. Add the egg yolk and vanilla essence. Beat well again till it all comes together.
Step 4 - Slowly sift in the flour mixture from step 2. Keep beating till it starts to form a crumb-like mixture. Do not panic! Once the mixture resembles soft bread crumbs. Put the electric whisk away and knead the dough together with your hands. It should easily come together. Try rolling the dough into small rounds and place these on the lined baking tray from step 1.
Step 5 - To make coated jam drops, spread the nuts/coconut on a flat plate. Dip the cookies in egg white and immediately roll them into the nuts/coconut. Place them on the lined baking tray.
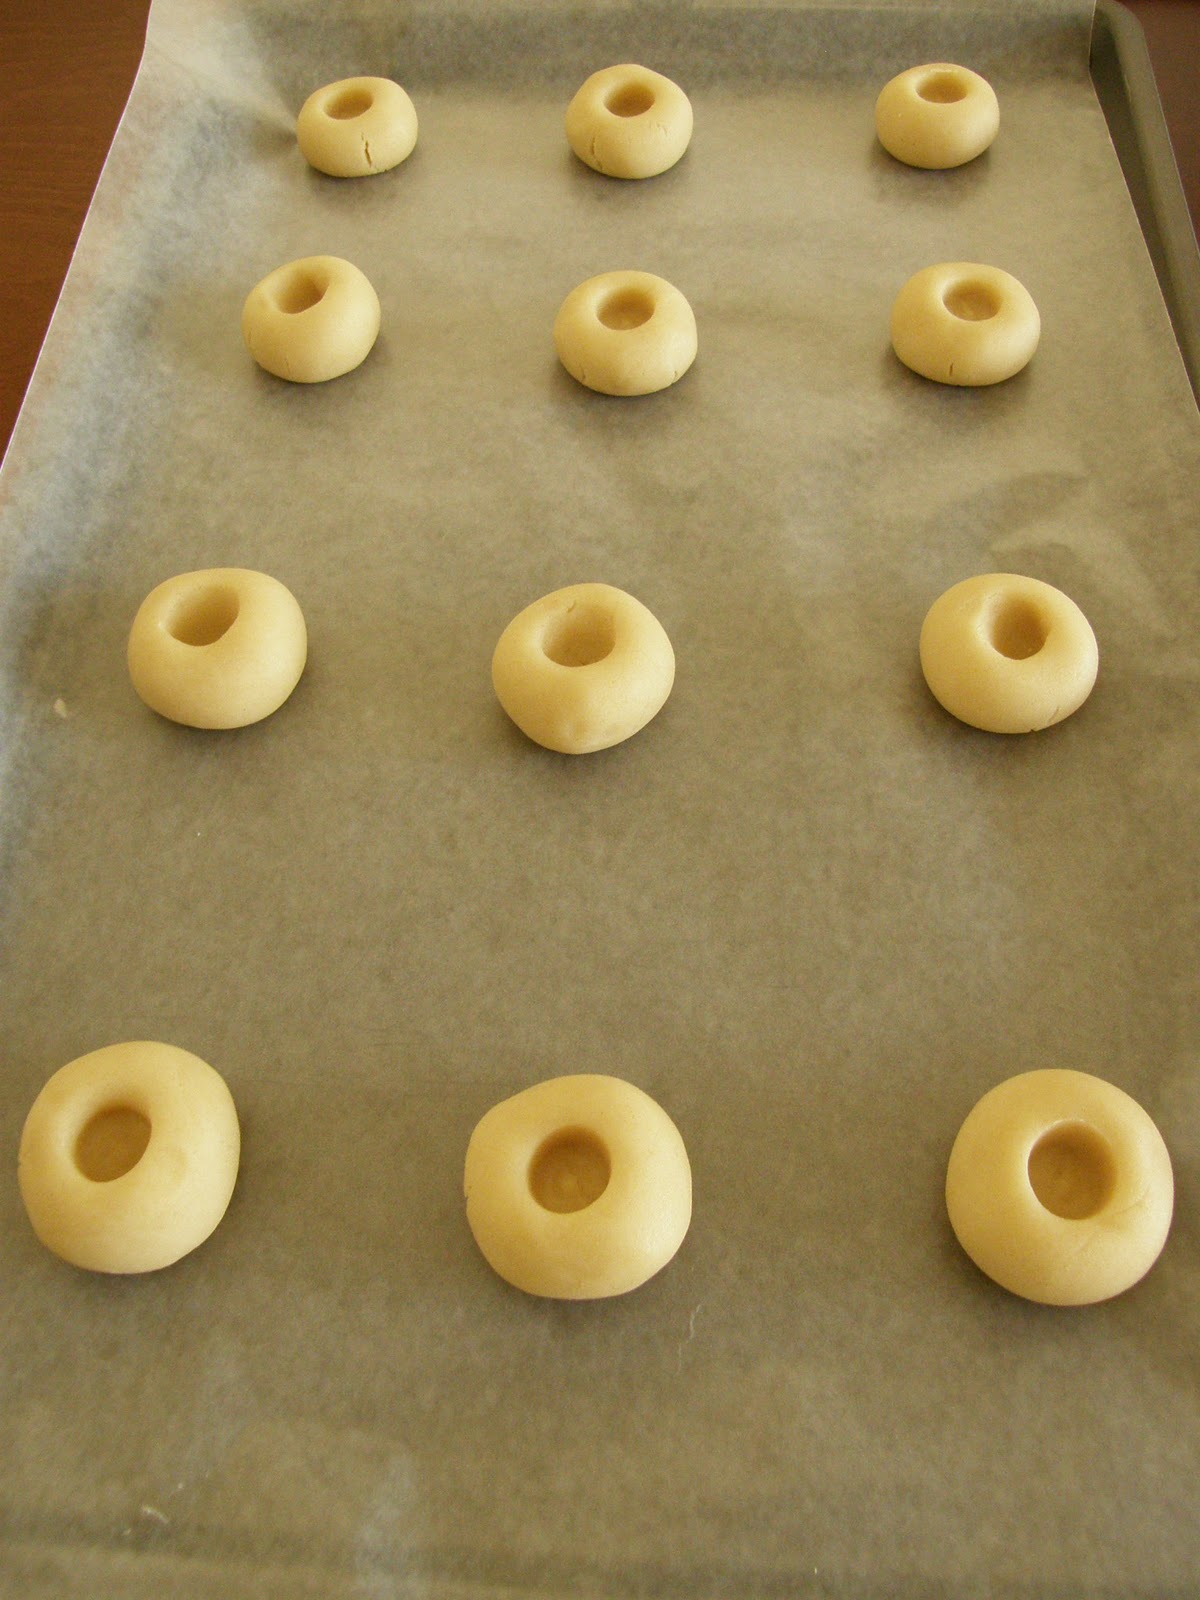
Step 6 - Press your thumb or the back of your wooden spoon into the cookie dough on the tray and form a deep depression or indentation. You don't want to go all the way through! We just need to make depressions for the jam to be poured in.
Step 7 - Bake in the preheated oven for 12-13 mins, or until the base of the cookie starts to brown. In case of the coated jam drop cookies, bake till the coconut/nuts start to brown. Make sure you don't burn these. Once done, turn the cookies onto a cooling rack and let them cool down.
Pour in your favorite jam and serve!


Tips:
If in step 4, you find the dough too soft to roll into rounds, keep it in the refrigerator for 30 mins till the dough can be handled well.
For fillings, you can use any flavored jam. These cookies would taste good with nutella or peanut butter in them too. Get creative here!
Do not worry if you see the cookies form cracks in the oven. Trust me, they wont break and neither are these cookies too brittle to be served.
Happy Cooking Everyone!